Find a local cleaner
- Inspiration /
- Lifestyle /
- Cleaning /
- How to clean your oven
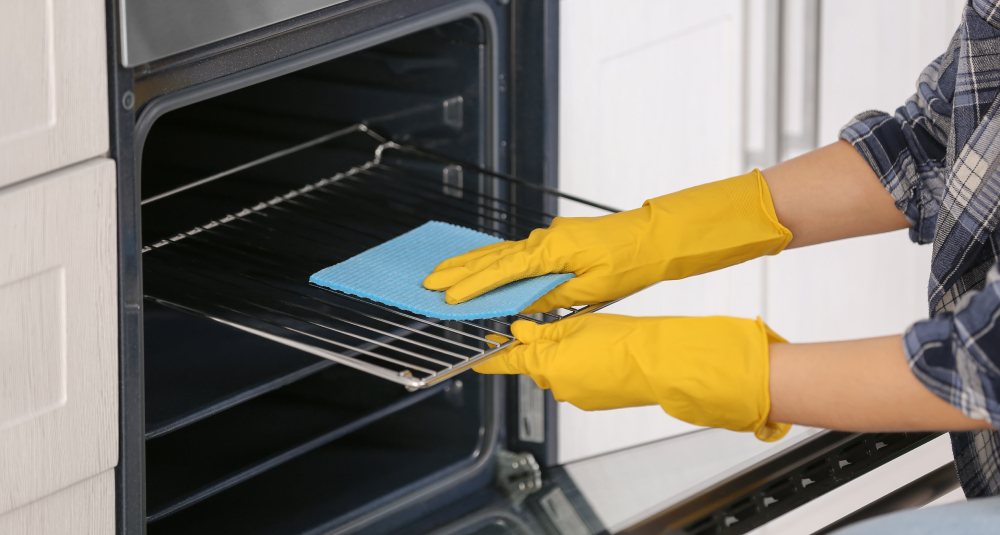
How to clean your oven
Step by Step Guide & Oven Cleaning Tips
All kitchen appliances need cleaning and regular maintenance in order to function properly. An oven is no exception to this rule. In fact, you might need to clean your oven more often than you clean your refrigerator or other kitchen appliance if you use it regularly. Oven cleaning might seem like an arduous and time-consuming task, but if you have the right technique and the right tools, you can get it done. Though, it’s still advisable to hire a professional cleaner to perform a deep clean every once in a while.
DIY oven cleaning does not have to be complicated. You can use natural cleaning agents available in your kitchen to get the job done. Oven cleaning just requires time, effort, and the right tools.
What do you need?
- A pair of rubber gloves to protect your hands
- Warm water
- Baking soda (enough to make a paste)
- White vinegar
- Spray bottle
- A brush
- Dishwashing liquid for the racks
- Damp dishcloth to wipe down surfaces
- Scraper (to remove carbon)
How to clean an oven: self-cleaning ovens
Self-cleaning ovens are easy to clean and maintain. Here is what you need to do:
- Lock the oven door securely and turn on the “self-clean” setting on your oven. The oven will self-clean for around 2 to 6 hours, depending on the configuration and model of the appliance. During this time, the intense heat in the oven will turn grease, food particles, and other debris into ash. Once it’s completed, let the appliance cool for 2 hours.
- Open the door after the oven is cool and sweep out the collected ash with the help of a brush and dustpan. You can wipe down any lingering ash with a damp dishcloth to ensure the oven’s interior is completely clean.
- Use a combination of vinegar and water, or an ordinary kitchen cleaning solution, to clean the oven door. Spray the solution on the door and gently scrub away any lingering debris until the door glass and the surrounding rim is completely free of stains.
- Remove the oven racks and wash them with dishwashing liquid and warm water. Any lingering traces of ash and food particles will come off easily at this stage. Allow the racks to air dry before you place them back in the oven.
How to clean an oven: regular ovens
Self-cleaning ovens are convenient, but not everyone has one. Ordinary ovens require a little more time and effort to clean, but you can carry out this task with the household products listed at the start. Here is what you need to do:
- Remove all racks from the oven before you begin the cleaning process. Place these racks in a kitchen sink full of warm water and a few drops of dishwashing liquid. This will loosen the grease, burnt food particles, and other debris. Proceed with the next step while the racks soak in the water.
- For mildly dirty ovens, mix 4 tablespoons of baking soda with 1 litre of water in a spray bottle. Spray this solution generously into a cold oven until it soaks all the charred and carbon-coated areas on the inside. You need to allow the solution to soak into and loosen the burnt debris for at least an hour before you take the next step.
- If the charred areas are too stiff and need something stronger to come loose, you can mix more baking soda with water to form a paste. Spread this paste evenly on all the charred areas and allow the solution to soak into the debris. After an hour you can scratch the area gently with the scraper to see if the debris is loose.
- If the carbon comes off easily, you can use the scraper to gently remove all of the soaked and lingering carbon. Be sure to spray the area with the remaining baking soda solution to aid this process.
- Once you have removed the most stubborn stains and wiped away the debris, spray the oven with the baking soda and water solution once again and allow it to soak for another hour. After the hour has passed, use a brush or a scrubber to remove the lingering traces of carbon. This will ensure your oven is free of all accumulated carbon and burnt food particles.
- Mix equal parts of vinegar and water in a bowl and dip a cleaning rag into it. Use the wet rag to wipe the interior of your oven and remove all traces of baking soda, oils, grease, etc. This should eliminate all traces of dirt and debris from your oven. You should use the same solution to clean the oven door as well.
- The final step is to clean the soaking oven racks. The hours of soaking will have loosened all of the burnt food particles, allowing you to easily scrub them clean. Use a combination of water and dishwashing liquid to clean the racks and let them air dry for a while. Once the racks are dry, place them in the oven.
How to clean an oven: textured ovens
Textured ovens are also self-cleaning and are designed to burn off all debris over time. The interiors are coated with a special ceramic layer that burns and removes all the debris as you continue to use your oven. You do not need to do much to clean these ovens. Wipe the interior surface with a damp cloth when your oven is cool. Do not use any abrasive cleaning solutions as they will damage the textured finish.
You will still have to clean the oven racks regularly. You can use the same combination of dishwashing liquid and water to remove the grease and food particles. Soak the racks in warm water and dishwashing liquid for a few hours to loosen all the dirt and scrub the surface clean gently. Once you have removed all collected carbon, wipe the rack down and let it air dry before you place it back in the oven.
How often should you clean the oven?
You should perform surface cleaning every time you intend to use the oven. Bacteria and germs can develop at the slightest incentive, especially in the warm dark environment inside the oven. If you do not clean the trays and grills before or after every use, you can place your health at risk. You can use water and some mild dishwashing liquid for everyday surface cleaning.
If you do not have the time or the inclination to clean your oven before or after every use, we recommend you schedule a weekly or bi-weekly cleaning. This will ensure your oven stays hygienic and is easier to clean over time. If you allow the grease, debris, and food particles to remain for too long, you will have to work harder to clean the oven. Regular cleaning minimizes the effort required to get the job done.
Related posts
How much will your job cost?
The Oneflare Cost Guide Centre is your one-stop shop to help you set your budget; from smaller tasks to larger projects.