Find a local flooring expert
- Inspiration /
- Indoor projects /
- Walls & flooring /
- How to polish floorboards
How to polish floorboards
Your guide timber floor sanding & polishing
Floor polishing is a popular DIY renovation project. However, if not treated with care it’s easy to make mistakes and end up with a bit of a mess, rather than the shiny new floor you were hoping for.
If you can’t decide whether to hire professionals for this very task or have a go at some DIY, here is a guide on polishing timber floors that might help you to find the answer.
A general overview of polishing floorboards
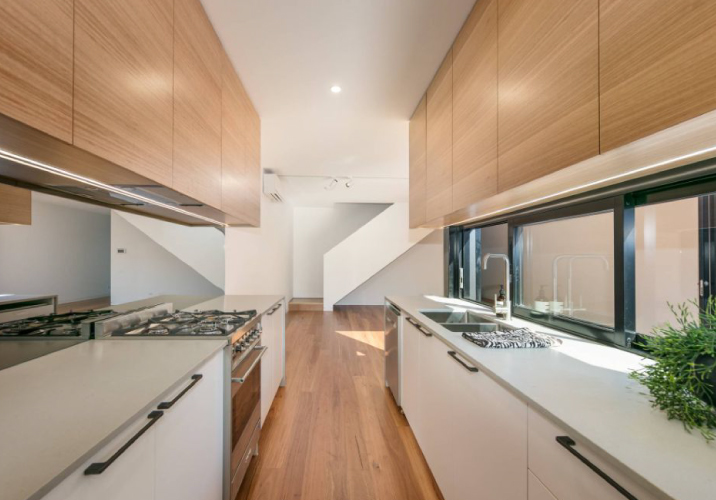
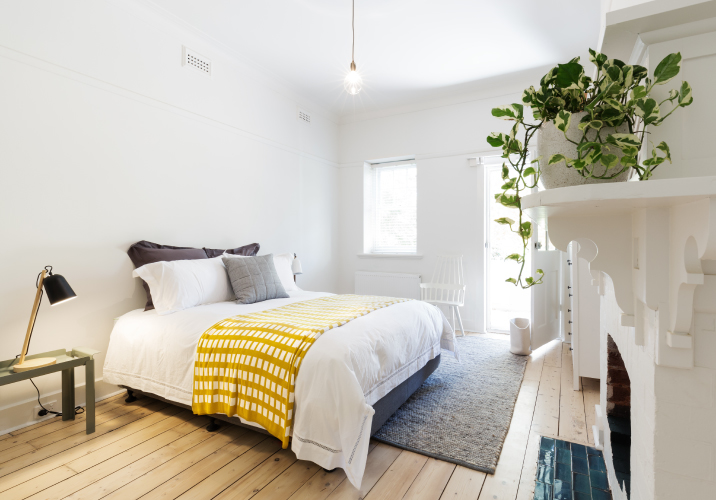
Timber floors can not only add huge amounts of character to a room but are also very hardy and durable when polished and maintained correctly. They are a timeless blend of beauty and longevity that fits with any type of design in a room.
If your timber floors are in s high traffic area, or the polish fades, then they can easily be refurbished without having to replace them.
Polishing a timber floor is the removal of its outer layer – that part that is subject to scuffs, scratches, and marks, in order to improve the quality and look of the polished floorboards underneath.
Let’s dive into the details of how to sand and polish floorboards.
What tools do you need to polish floorboards?
- Drum sander
- Dust mask
- Earmuffs
- Hammer
- Hand sander
- Nail punch
- Safety glasses
How do I prepare to sand floorboards?
Before getting started the area should be prepared for sanding. You may have a carpet covering over your timber floor which will have to be removed. The best way is to cut it into squares using a sharp utility knife and take them out piece by piece. Some houses have vinyl tiles laid over timber floor which is also required to be removed prior to sanding.
- The room in which the work is carried out should be completely empty to prevent dust from getting into and onto everything.
- Remove all the staples that are in the floorboards using pliers, and level off any nails using a nail punch to make the floor surface level and suitable for sanding
- Be sure to open your windows and close your doors to manage dust levels in the space
- Wear a dust mask and safety glasses
How to sand a timber floor
The type of sander will be different depending on the surface you have to sand. When you buy or hire a sander, it’s best to ask the manufacturer or retailer the best types of sanding paper to use.
It is often suggested to use 3 types of sandpaper on your drum sander. You should sand the whole room with the coarsest sandpaper, then re-sand all the surface with medium sandpaper and finally you repeat the process with the finest sandpaper. Hard to reach areas and corners should be sanded by hand with fine sandpaper.
Useful tip: the number on sandpaper indicates “grains” per cm2 it has. Grit size of sandpaper is usually stated as a number that is inversely related to the particle size. A small number such as 20 or 40 indicates a coarse grit, while a large number such as 1500 indicates a fine grit.
Once sanding is done, you should fill the all the nail holes, cracks with a water-based putty and leave it for drying.
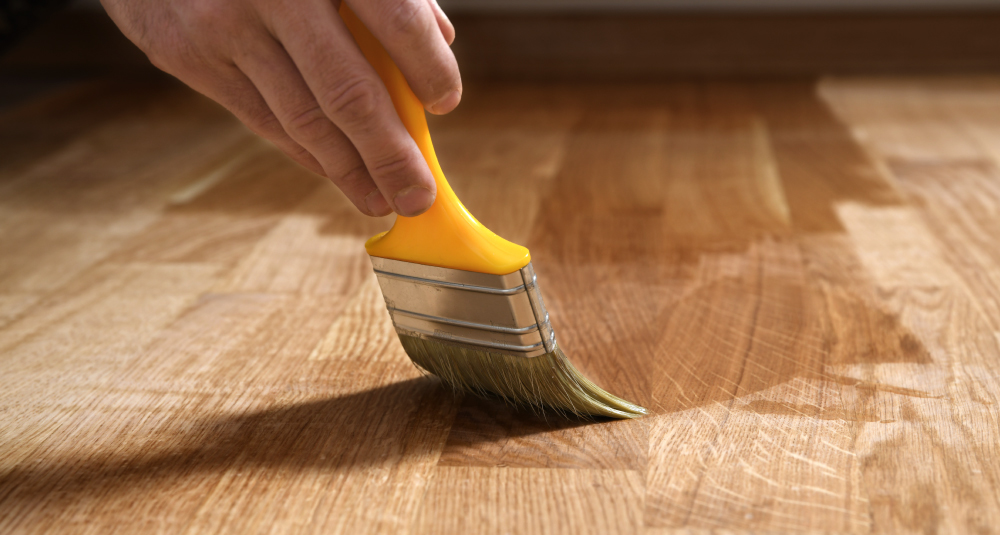
DIY floor sanding and polishing
There are usually 2 types of polyurethane: water-based and oil-based. Water-based tends to be preferable because of its low odour and quicker drying.
The varnishes differ also by the gloss level: there are high-gloss, semi-glossy and glossy, matte and semi-matt varnishes. Floors finished with high-gloss varnish shine like a mirror. Semi-gloss and semi-matt varnishes reflect less light from the surface.
When choosing a varnish for a timber floor, it is also necessary to take into account the type of room in which the work will be carried out:
- In the bathroom and in the kitchen, it is advisable to use compounds that are durable against exposure to moisture – urethane, urethane-alkyd and polyurethane varnishes for the timber floor.
- For the living room, hall and timber stairs, you need to buy especially resistant varnishes to abrasion. These include acid-cured, organic and water-based varnishes based on polyurethane resins.
- For areas with high traffic, urethane varnishes with an anti-slip effect are used.
All types of finishes require mixing. This should be done according to the manufacturer’s instructions and will depend on the type of the finish. It can be as simple as shaking the container, or it may involve mixing in a hardener and straining the finish a few times.
- Perform finishing of the timber floor with varnish at room temperature from 12 to 25 degrees celsius. Only at this temperature will the composition dry well and not lose its decorative and protective properties.
- Using a special varnish brush is recommended.
- Choose one of the walls to begin and follow the direction of the floor’s grain.
- Smooth strokes should be aimed for, aggressive movement might cause bubbles in the finish.
- Take into account how you will exit the room. Be sure not to varnish yourself into a corner of the room. Start in a far corner, and work your way towards the open door.
After application, allow the varnish to dry well. Each subsequent layer can be applied only after the previous one has completely dried. Different varnishes have their own drying time, which is indicated on the varnish label so be sure to check instructions.
DIY vs professional to polish floorboards
This is one of those household jobs which can be done just as effectively by yourself as it can be by a professional. Cost is often the main factor that drives people to take on the tasks themselves, but have you considered the hidden cost of potential pitfalls, especially when it comes to applying finishes. There are cases where people didn’t choose the appropriate finishes and left marks. The cost of having to repeat the whole process is more than the cost of getting the job right on the first go.
Pros of DIY
- Cheaper
- Learning a new skill
- An intriguing challenge
Cons of DIY
- Labour intensive
- Risks of ruining the floor
- Lack of professional equipment
How much does timber floor polishing cost?
A flooring expert generally charges around $30 to $50 per square meter for timber floor polishing. The cost depends on floor conditions and what the work involves. The cost may also go higher or lower according to your choice of finishing material.
If you choose to do it yourself here is a breakdown of the costs you will likely incur. Keep in mind these can change based on the square meterage of the job you’re completing.
- Drum Sander Hire (24hrs): $67
- Dust Masks: $13
- Ear Muffs: $18
- Hammer: $30
- Nail Punch: $8
- Safety Glasses: $13
- Floor Polish: $150 (depending on the size of the space you need to polish and how many coats you require)
- Total: $299 (approx)
If you decide to go for a professional instead of DIY this time, you can find a flooring expert by posting a job on Oneflare.
Related posts
How much will your job cost?
The Oneflare Cost Guide Centre is your one-stop shop to help you set your budget; from smaller tasks to larger projects.