Find a local painter
- Inspiration /
- Indoor projects /
- Building & renovations /
- DIY: How to paint a...
DIY: How to paint a ceiling
Get the tools ready to paint your ceiling.
Painting your ceilings is a terrific way to elevate your home’s aesthetic appeal. After all, the ceiling can be considered your fifth wall. Even without repainting all your walls or revamping your furniture, you can dramatically change a space by touching up the ceiling.
In this guide, we’ll take you through how to paint a ceiling and share a few tricks to make the most of your painting project. It takes a few steps and a few hours on a stepladder, but the results will be worth it.
Tools you’ll need for painting ceilings
Unsure about what paint roller to use for ceilings and what kind of paint to use? Here are the tools you’ll need to get started with your DIY project:
- Stepladder
- Drop sheets, plastic sheeting and painter’s tape
- Protective gear (e.g., goggles, a dust mask, overalls)
- Ceiling brush or broom
- Interior putty
- Putty knife
- Sanding pole
- 22-cm (9-inch) paint roller frames
- Paint roller covers
- Paint roller tray and roller extension pole
- 5 to 7-cm (2 to 3-inch) angled brushes
- Stain-blocking primer
- Your choice of paint
You’ll also need to allot around a day to paint a regular-sized (40 sqm.) ceiling. This includes a couple of hours for prep work, around 30–60 minutes to prime, 30–60 minutes to apply the first coat, and 2–4 hours to wait for this first coat to dry. You can do touch-ups or a second coat as needed. Lastly, you’ll need time to let it set and clean up.
A step-by-step guide to painting your ceilings
Once you have all your tools ready, it’s time to prep and paint! Here’s a beginner-friendly guide on how to paint a ceiling.
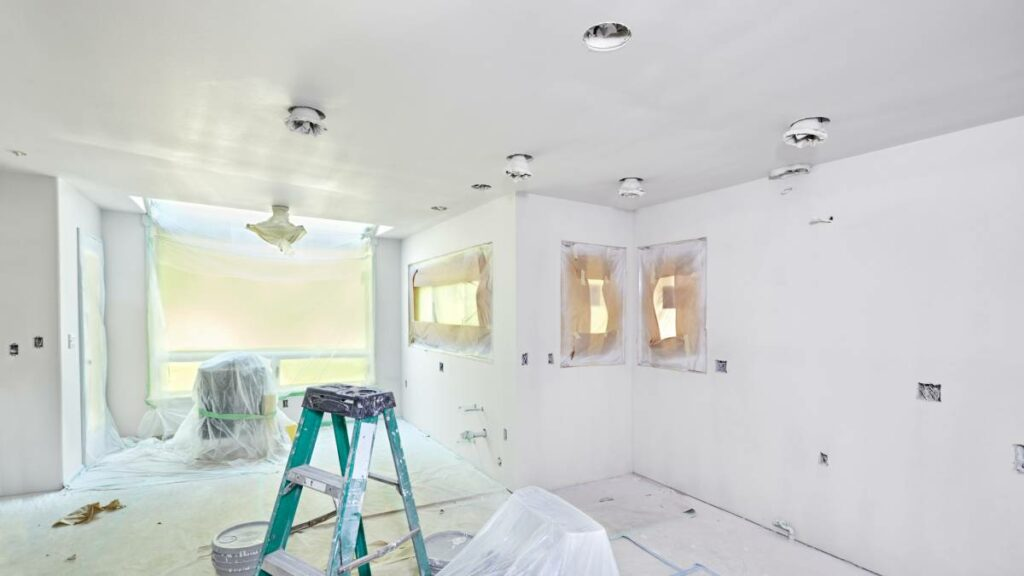
Step 1: Preparation
First off, put on your safety goggles, dust mask, and overalls. Get started in removing all the furniture and items in the room, or cover them with drop cloths and plastic sheets. Secure these in place with painter’s tape. If you’re painting an empty room and are doing the walls later on, you can skip this extensive masking.
If you have ceiling fixtures such as lights and ceiling fans, turn the power off, then uninstall or cover all electricals.
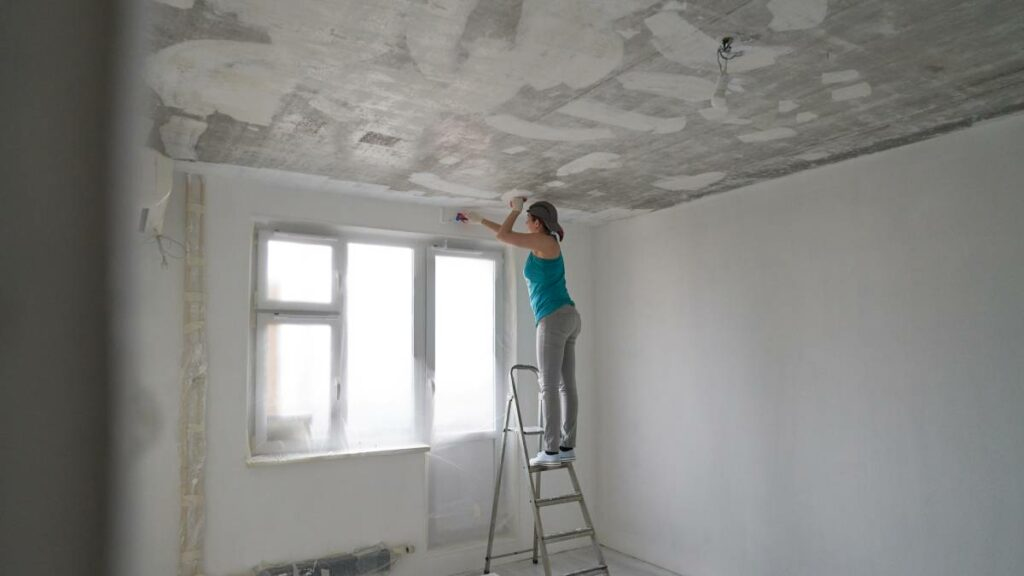
Next, sweep or brush the ceiling to clear the dust and cobwebs. You could also use a mop and mild detergent to clean it thoroughly.
Spot any cracks or holes? Apply some interior putty to fill them. Afterwards, sand the whole ceiling down for an even surface.
Step 2: Priming
The best way to paint a ceiling involves priming.
If your ceiling is pretty much stain-free, use any stain-blocking primer. But if there are already splotches, you’ll want to get an oil-based primer for water stains or a shellac-based primer to address other stains.
Use the angled brush to cut into the ceiling. “Cutting into” means outlining the edges and corners of the ceiling. Make 4 to 6 cm-wide strips of primer all around the ceiling. Then, apply primer to the rest of the ceiling.
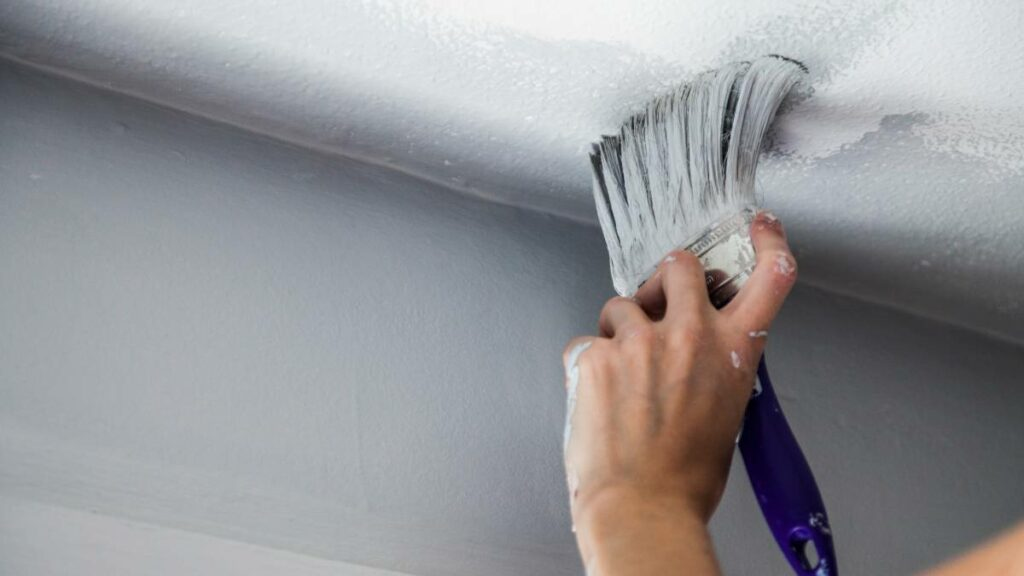
Step 3: Cutting into the edges
Check if the primer is dry. Once it’s all good, get another angled brush, your chosen ceiling paint, then cut into the edges, just like you did with the primer. Use a brush to fill the corner with paint, then make a straight line along the edge of the ceiling. You should end up with a nice 4 to 6-cm wide border to fill in at the next step.
Step 4: Painting the rest of your ceiling
While the edges of your ceiling are still wet, start on the middle portion.
Imagine your ceiling is a grid with many little sections. Pick a section near one corner to start with a wet edge. This helps avoid streakiness and brush marks.
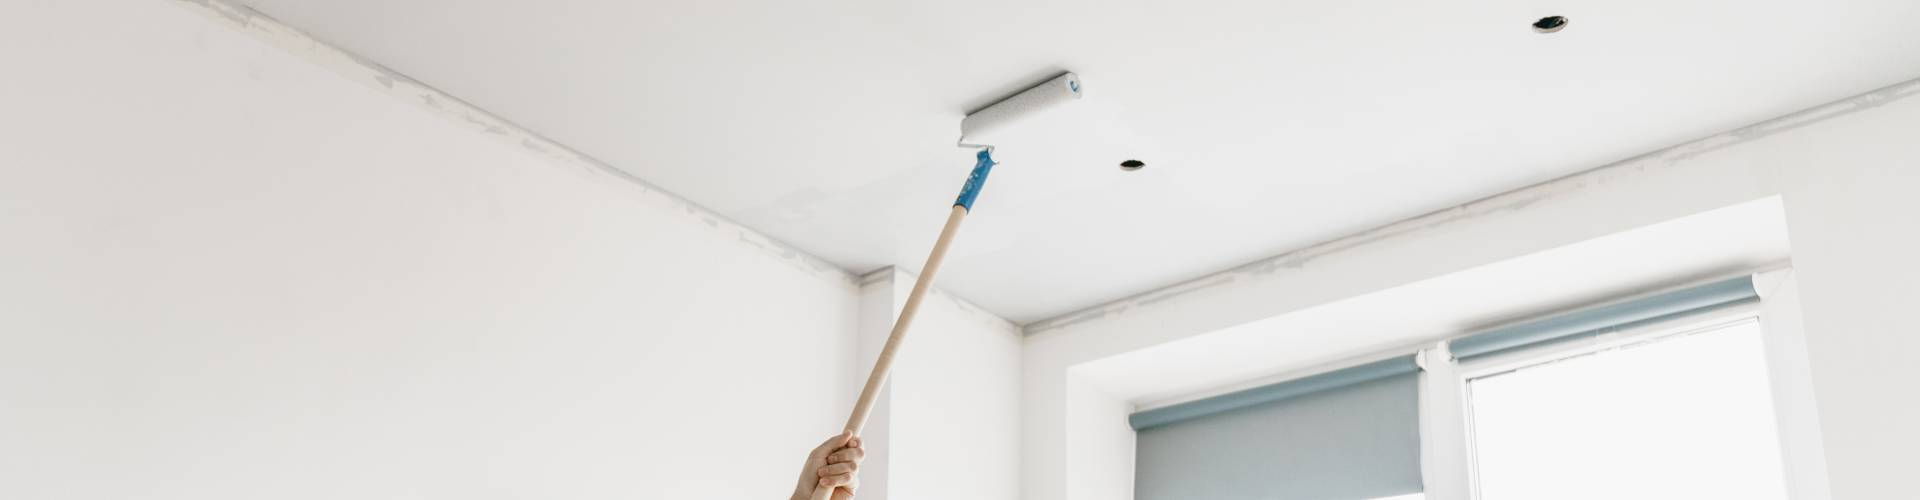
But before you go trigger-happy with your paint, here’s how to properly paint a ceiling with a roller:
- First, load the paint onto the paint tray. Dip the roller into the deep portion, then run it across the tray several times to spread the paint evenly.
- Lay the roller on the unpainted portion of the ceiling, then run it towards the wet edge with light pressure. Roll slowly, overlapping each stroke. You’ll also want to change the direction of your rolling–go in rows, columns, and zigzags for an even coat.
- Once you’re done with one section, move on to the next part, ensuring you roll towards the last wet edge.
Try to finish painting the ceiling in one session to ensure uniform drying and minimise streaks.
Afterwards, wait two to four hours or until the paint is completely dry. Keeping the windows open can help speed up the drying process.
Step 5: Additional coats and touch-ups
This step is optional. But if you’re using a bright colour or flat white, going for another coat can help improve coverage.
The key here is to roll in a direction perpendicular to the first coat to even the paint out.
Once your ceiling is dry and ready for inspection, check the whole area for missed spots. Carefully brush paint onto these spots, then blend them out with a roller. For streaky areas, use the sander to sand these down before reapplying paint.
How to paint the cornices on a ceiling

If the room has cornices or coving, you should use a brush since this will give a more even wash of colour versus a roller.
Begin by cutting in at the edges with a brush and some primer, just as you would with a regular flat ceiling or wall. Apply primer to the rest of the cornice after cutting in.
Let the primer coat dry completely, then apply the paint. Flat or matte paints are popular, especially since glossy paints can highlight imperfections in the cornice’s designs later on. If needed, use smaller paintbrushes to get into the cornice’s nooks and crannies.
The dos and don’ts of painting ceilings
Now you know the basic steps. But that’s not all there is! These rules for painting ceilings will make the process easier save time and money, and could even help you avoid accidents.
DO’s
- DO paint the room from the top down, starting with the ceiling and ending with the walls.
- DO get help when working with electricals on your ceiling, such as when removing or reinstalling your ceiling fan.
- DO use painter’s tape to mask around the edges for straight lines when you “cut.”
- DO have rags on hand for drips and splatters.
- DO choose your ceiling colour wisely. Dark colours look dramatic and make the room feel cosier, but they may make rooms feel smaller. Light colours give the illusion of more space. They’ll also reflect more light.
- DO choose a flat or matte colour to help hide defects in your ceiling.
- DO “box” your paint for uniformity. If you’re using multiple cans of the same colour, you should pour them all into one large can or bucket to even out any minor colour differences.
- DO maintain a wet edge while painting to hide roller or brush strokes.
DON’Ts
- Don’t just use any roller cover. Use thin or “low nap” roller covers for smooth ceilings and thicker ones for textured ceilings.
- DON’T forget safety equipment and precautions. Wear a dust mask and goggles to avoid paint or dust getting into your eyes or inhaling paint fumes. Also, keep the room as ventilated as possible.
- DON’T attempt to deal with mould in the ceiling by yourself. Ask an expert instead about how to remove mould from the ceiling before painting it.
- DON’T use too much or too little paint. Excess paint can cause splatters; too little can result in patches and streaks.
- Don’t attempt to paint a high ceiling by yourself. For your safety, hire a pro instead.
Hiring a professional painter to do the work
Considering hiring a local painter to do your ceilings? This could be a good choice if you’re in a time crunch or simply don’t feel comfortable working so high up for hours.
Make sure your contractor is licensed and qualified. Ideally, they should be insured, too, so you can safeguard against any accidental damage to your property while they’re on the job. You can ask to see the painter’s license, qualifications, and insurance papers before you hire them.
As for painting quotations, you can request a written quote and timetable in advance. This avoids miscommunication and puts you both on the same page. If you’re still canvassing, avoid getting the offer with the lowest quote since this could mean low-quality products and less experience in the industry.
Don’t forget to ask the painter for references or reviews. You can call up these references, read online reviews, and even ask these former customers about the prospective painter’s performance.
Now that you know how to paint a ceiling, get ready to roll!
Painting a ceiling can be an exciting and fulfilling DIY project. Follow this handy guide, and you should be ready to redecorate your home.
But if you think it’ll be a challenge, hiring a pro painter is worth the cost, as they can get the outcome you like. You’ll get the revamped ceiling you’re looking for, plus a perfectly smooth paint job!
FAQs on painting ceilings
How many coats of paint do you need for a ceiling?
Most ceilings only require one coat of paint. But if you’re covering a darker ceiling with a brighter-coloured paint, you may need two to three coats of paint to get the best coverage.
Painting your walls in the same colour as your ceiling? You’ll need a lot more paint since walls typically need two coats, minimum.
How long should you wait to apply the second coat of paint?
You can safely apply a second coat after four hours. Most paint takes two to four hours to dry, but this can change depending on the weather, how well-ventilated your room is, and even the type of paint used.
How do I paint popcorn ceilings with a roller?
When dealing with popcorn ceilings and other textured ceilings, it’s best to use a thick paint roller cover. This holds more paint and distributes it better in the nooks and crannies.
A word of warning when dealing with popcorn ceilings: these may contain asbestos, a dangerous chemical. You may want to hire a professional who can test for asbestos before proceeding with your painting project.
How much will your job cost?
The Oneflare Cost Guide Centre is your one-stop shop to help you set your budget; from smaller tasks to larger projects.