Find a local insulation expert
- Inspiration /
- Indoor projects /
- Heating & cooling /
- Attic insulation...
Attic insulation removal and cleaning DIY
How to safely remove insulation from your roof
This article is going to cover the three steps needed to make sure you remove insulation from your home in a safe and effective manner;
- How to prep this attic cleanup
- How to safely vacuum the area you are working in.
- How to properly dispose of this product.
Attic insulation needs to be replaced immediately if there are signs of rodent infestations. They can spread disease and cause structural problems to your property. Removing the old insulation can be quite a pain to do alone, but if you follow these guidelines, the process will be a lot easier.
If you are doing it by yourself, you need to make sure you focus mainly on your own safety before anything else, whether you are removing loose attic insulation for replacement with new, removing due to water damage, or just changing insulation types! Everyone should know how to remove their own home’s insulation if need be, because if you don’t know how you might end up spending too much money for something that can be done for free by yourself.
Insulation removal equipment
- Fully covered clothing
- Gloves
- Goggles
- Large garbage bags/trash bags
- Tarp or blanket
- Vacuum
- Ladder
- Respirator/dust masks
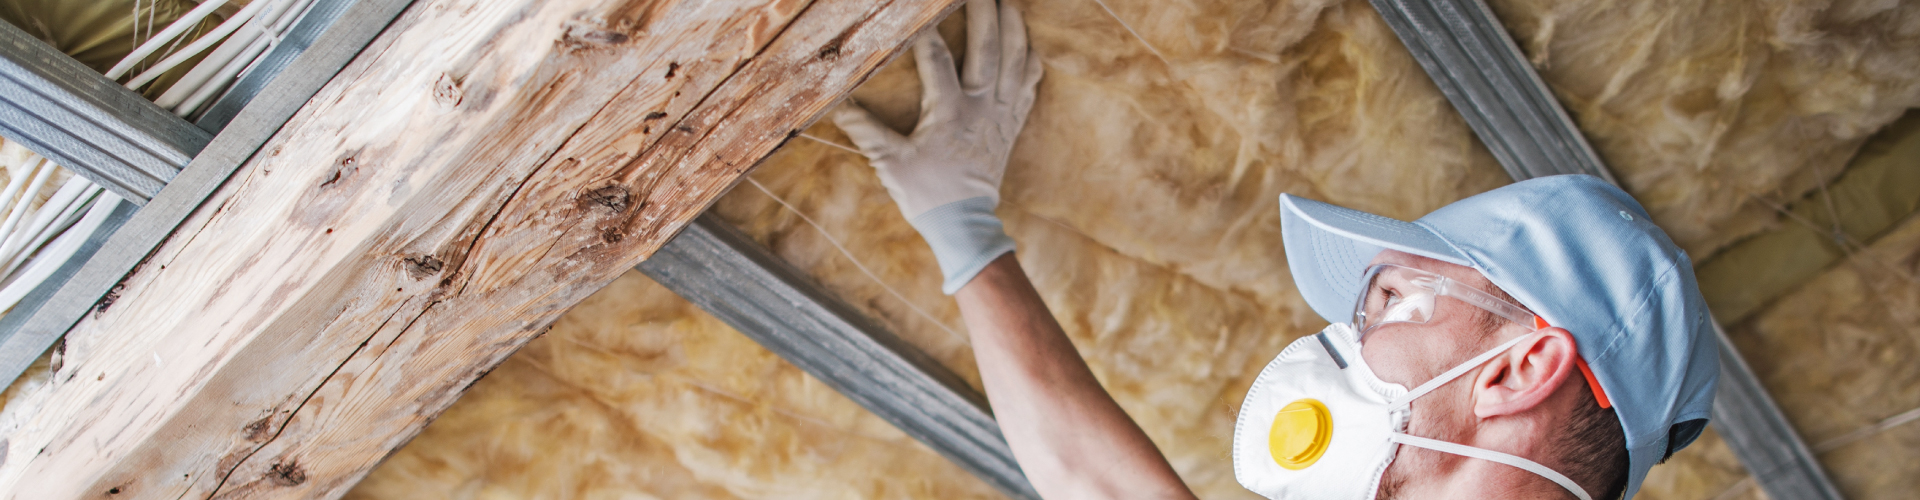
Proper safety attire for your attic cleaning
Before we begin, let’s go over the proper safety attire. When it comes to insulation, it is important to keep your body protected and keep insulation inhalation to an absolute minimum. You need to protect yourself by wearing the right equipment, dressed in a long-sleeved shirt, long pants, and both your safety goggles and respirator. Attic insulation can be dangerous if you aren’t wearing the clothing for the job.
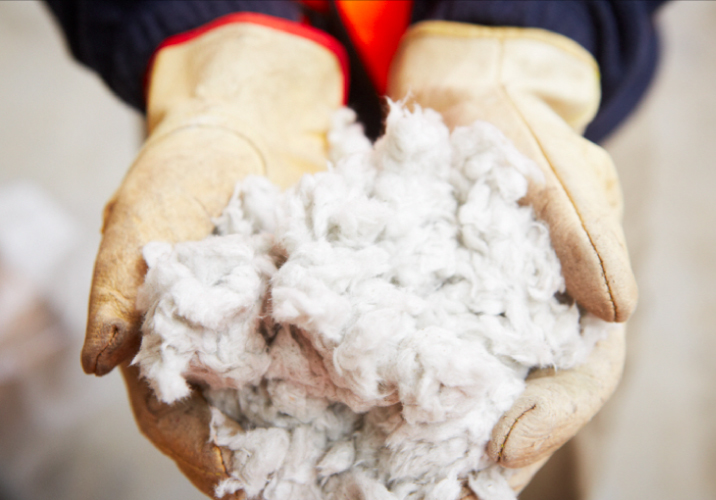
Step one: Know the type of insulation you have
The very first step in removing loose attic insulation is to determine what kind of insulation you are dealing with. It is important to figure this out because many older homes contain an insulation that has a grey, almost paper-like appearance and is very harmful to your health. If you cannot identify the insulation you are working with you need to find out if the insulation is comprised with asbestos by using a testing kit. If so, the best option for you to remove the insulation is to call for a local insulation expert to remove the insulation. View our Asbestos removal cost guide if you think you might have asbestos in your home.
When getting ready for insulation removal it is important that you don’t allow any damaged, mildewed, or mouldy insulation to fall and settle throughout your home. To prevent anything from going wrong, make sure that all the doors/attic opening are closed and place down your tarp in the area you are working in and tape it down to secure it.
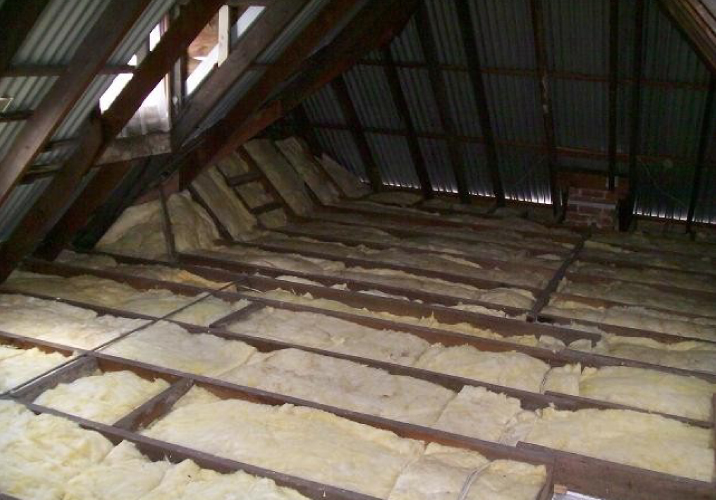
To work in the attic safely, you should lay down some large wooden boards across the joist so that you are able to walk throughout the attic while removing the insulation. You will want the tarp to be placed in the area you will be unloading the insulation into the garbage bags. You need to have a clear path from where you are unloading the garbage bags full of insulation to the exit so that you aren’t spending too much time handling the bags, keeping minimum interaction.
Step two: Cleaning, vacuuming and disinfection
Before you start this next step, make sure that your clothing thoroughly covers all of your skin and you are wearing gloves and a respirator/mask. You will start by vacuuming all of the loose insulation throughout a small area and empty the canister into the garbage bags until the area is clear of loose insulation, then move on to the next area of the wall. With a wet-dry vacuum you are going to need to dump the insulation remnants from the vacuum canister into the trash bags every five minutes or so while vacuuming. After all of the attic walls are cleared, you then need to vacuum all of the attic joists thoroughly.
Contact local insulation experts
To start this, you’ll want to begin the process at the farthest end of the attic and make your way to the exit going backward. Getting stuck in a corner while you are stirring up insulation into the air is the last thing you want to do. Make sure you also check it twice along the floor joists to guarantee that all of the tiny insulation pieces aren’t infiltrating the air.
If you don’t own or have access to a shop-vac, then another option for you is to rent a HEPA filtered industrial vacuum. They are much higher powered than a standard shop-vac and will get the job done in much less time. It does this because it does two jobs at once; it sucks up the loose insulation and has attached a hose that routes the insulation from the vacuum straight to the trash container or garbage bags outside. This will keep the area you are working in a little bit neater and keep air infiltration to a minimum.
Step three: Insulation disposal
The third and final step in removing your attic insulation is the disposal of it. Disposing of the loose insulation you’ve collected in the garbage bags is important because of the damage that insulation can do to the environment if released. This is why you should contact your city’s waste management center to determine what the best option for dumping your insulation. It might even be as simple as leaving it out to the road with the other household trash bags, but there might be a specific dumb site that they refer you to go to for disposal.
Blown in insulation
Once you finish cleaning up the attic and remove the old insulation, it’s not a bad idea to add in more insulation if you don’t mind working up a sweat. To make sure you use enough insulation and seal up the attic bypasses, it’s still recommended to hire a local insulation professional for a long-term payoff. A proper insulation helps to save energy bills.
How much will your job cost?
The Oneflare Cost Guide Centre is your one-stop shop to help you set your budget; from smaller tasks to larger projects.