Find a local painter
- Inspiration /
- Indoor projects /
- Walls & flooring /
- Learn how to paint a...
Learn how to paint a wall using a paint roller
Paint walls faster and like a pro with paint rollers in 7 easy steps.
If you plan to repaint your walls and update their look on your own, be sure to have a paint roller on hand. Its wide coverage can help you repaint your space with less effort. Although learning how to use a roller to paint walls can require a bit of technique, you can start with the basics. Let us guide you on how to use a paint roller on a wall for your next home makeover.
What to know about paint rollers
The perfect paint job done with a roller begins with the right choice for thickness or “nap.” The thicker the nap of the roller cover, the more paint the roller can hold.
A thinner nap is perfect if you prefer a smooth finish for your walls. On the other hand, go for a thicker nap if you are painting on surfaces like rendered walls. Moreover, using a thicker nap is ideal for getting in all of the nooks and crannies of rough surfaces.
Also, having the right width of the paint roller cover to use for your project can ensure a more even finish. Go for a 230-270mm width roller for wide surfaces such as walls and ceilings. Otherwise, choose a 75-100mm roller for smaller projects such as front doors, trim, and window frames.
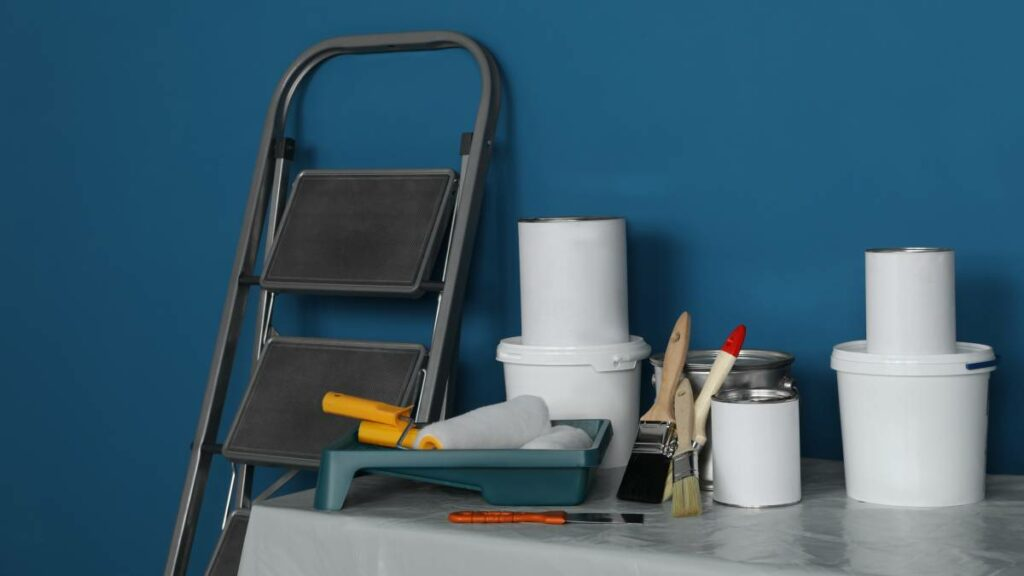
What you’ll need:
- Paint roller cover – A 230-270mm width roller is a good choice for painting on walls.
- Paint roller frame – Find a frame that is compatible with your roller cover.
- Drop cloth – Use this to clean up paint spills on floors and furniture.
- Paint tray – Ensure the tray is large enough to fit the roller cover.
- Paint stirrer – A flat stirrer is necessary for an even paint mix.
- Paintbrush – A tapered brush is best for outlining wall edges.
- Painter’s tape – This will mark off and protect trim and any areas you don’t want paint on.
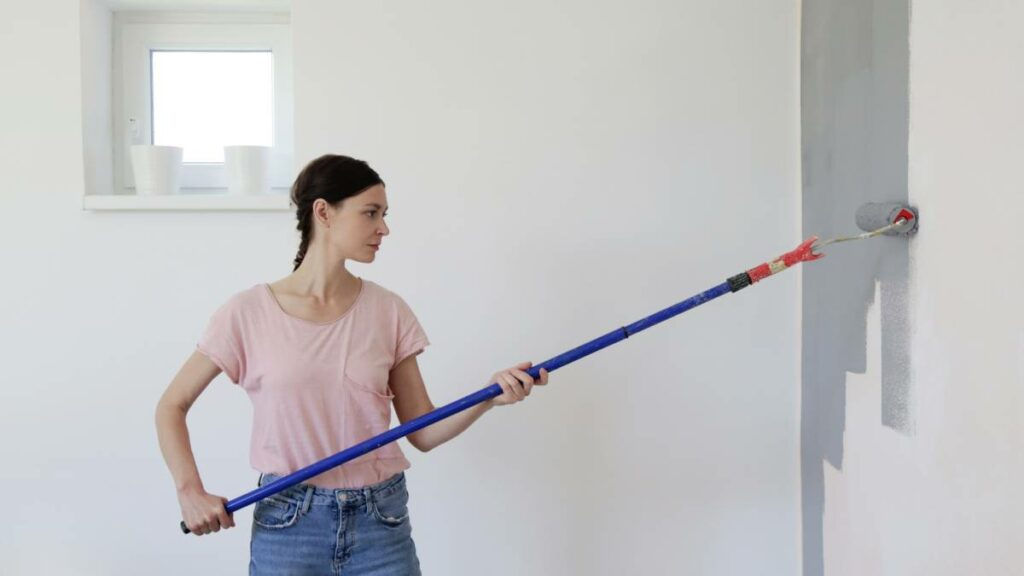
- Extension pole – Useful for reaching ceilings and other high areas.
A step-by-step guide to painting a wall using a paint roller
Understanding how to use a paint roller on walls can ensure the success of your DIY home makeover. You can achieve a professional-looking finish by following some simple steps.
1. Prepare the painting area
First, remove any furniture and decor, such as chairs, rugs, and side tables, from the room. Next, place drop cloths along the wall you will paint. Then mask off any areas you don’t want painted on, like the skirting. This will ensure a clean, defined edge when you begin painting.
Lastly, turn off any air conditioning or heating in the room to minimise dust being stuck on the walls during the painting process.
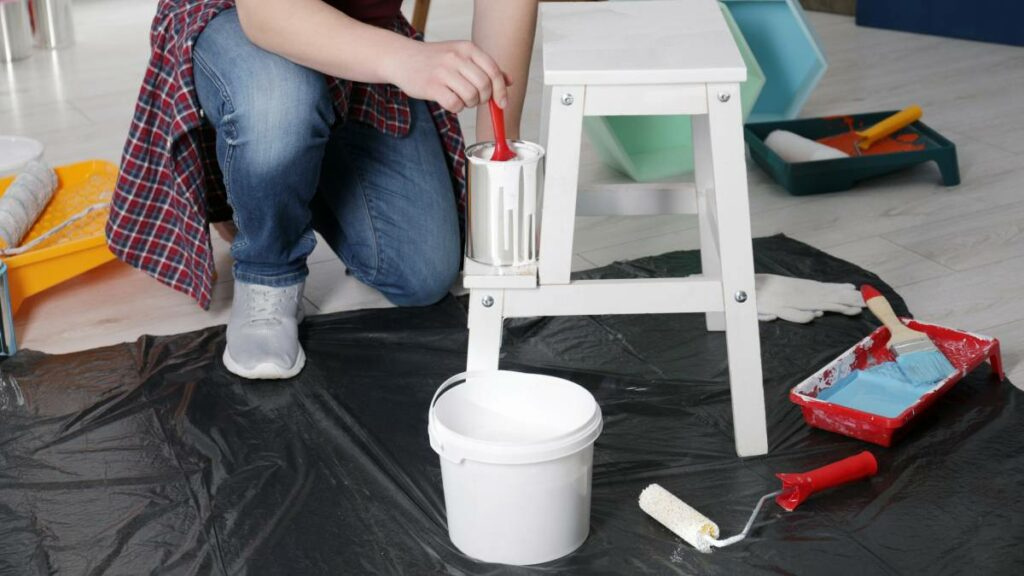
2. Prepare and mix the paint
Since paint is made of a mixture of pigments and solids, it can slowly separate over a few days. Before pouring the paint on the tray, mix it in the tin for about thirty seconds. Place a drop cloth below your paint tin before doing this to keep your work area mess-free. Also, agitate any solids settled in the bottom of the tin as you mix. Afterwards, pour about 2.5cm of mixed paint on the tray to start.
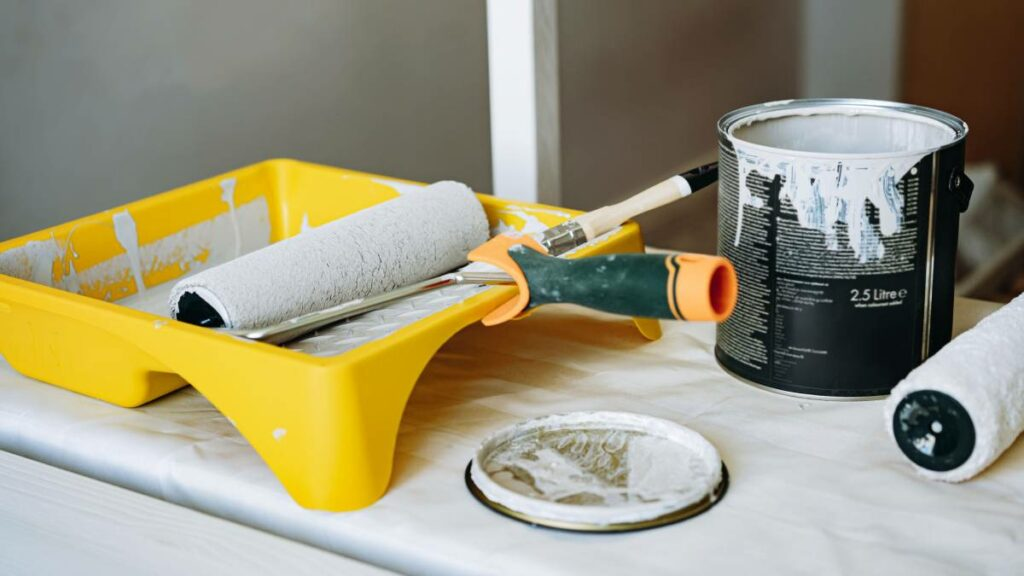
3. Prime the roller cover
Start priming the roller cover by removing any stray fibres with a lint brush or tape. This will prevent any paint clots and debris as you paint later on. After that, dampen your roller cover with water. Lastly, blot the cover dry using a drop cloth. Priming your roller cover this way will help absorb and apply paint better on the walls.
4. Outline the wall borders with paint
Using a brush, paint around the borders of your wall to cover the edges. A tapered brush will help cover those tight spaces between the walls and the skirting. Be sure to paint in long and horizontal strokes so it can dry evenly.
5. Dip the paint roller
Carefully slide the paint roller into the tray until it is evenly coated. A good rule of thumb is to roll it in the tray about 5-6 times to absorb enough paint. Scrape excess paint off the ridges of your tray to prevent drippings and grid marks on the wall. Check if your roller is not dripping any paint before applying it on the surface.
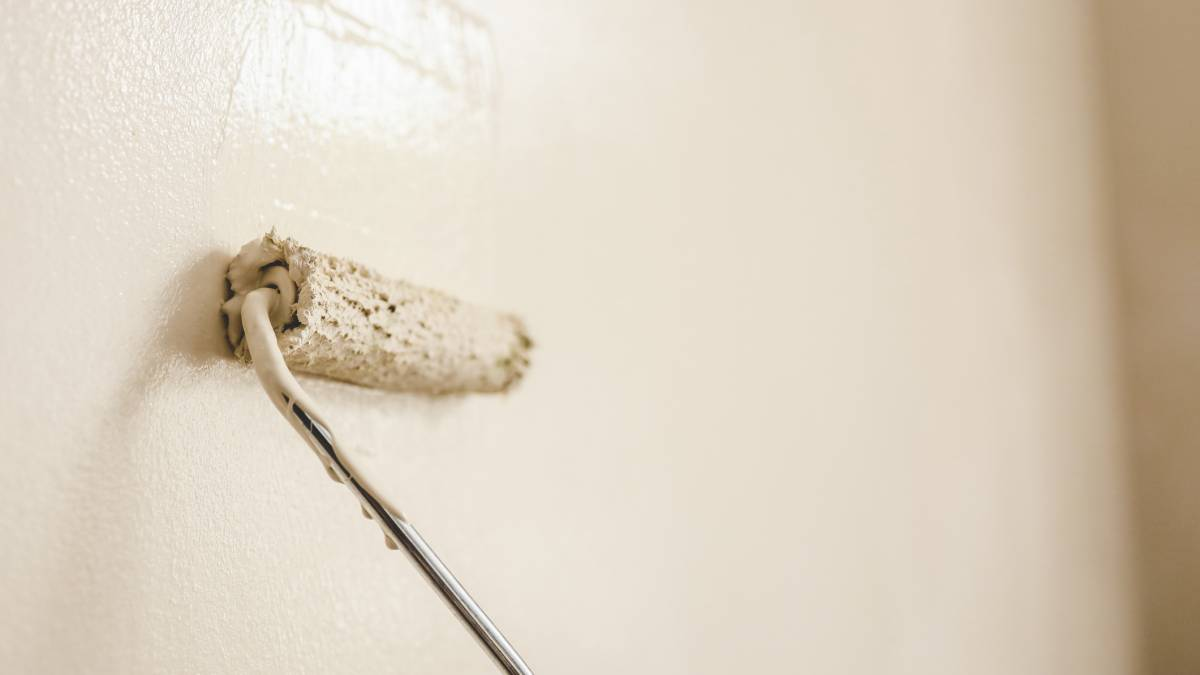
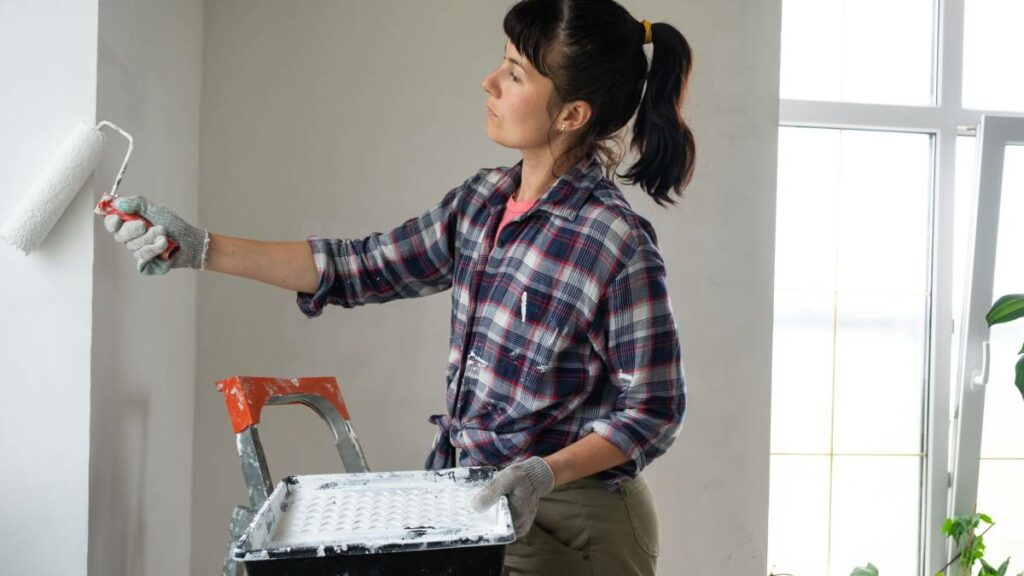
6. Roll paint on the wall
Gently glide your paint roller upwards from the bottom half of the wall. Then, work toward the rest of the wall in a zigzag “W” motion. Also, avoid applying too much pressure on the roller so it doesn’t become matted with paint.
Reload the roller cover with paint if the roll marks appear speckled and inconsistent. Then, apply vertical and angled strokes as you paint over the edges and the rest of the wall.
Once the first coat has fully dried, you can roll a second coat on your wall for an even and more durable coverage. By applying several coats, you get to fill any gaps in the wall and achieve a richer colour.
7. Clean the roller cover and frame
Once you’re done with the painting and you’re satisfied with your paint finish, it’s time to pack up and clean your paint roller. Use a scraper and remove as much paint as possible before rinsing with water to avoid clogging up the drain. Finally, let your paint roller and other equipment dry outside before storing them properly in your toolbox.
Tips when painting using a roller
Once you have used a paint roller, you will develop your own painting technique. With enough practice, you can end up with fewer roller streaks and finish the job faster. To help you improve, here are some useful tips on how to paint a wall using a roller.
Choose premium painting tools
Getting a good build quality roller can save you money and trips to the hardware store. Moreover, consider buying higher quality wool blend roller covers since those contain fewer stray fibres, meaning they can hold more paint and withstand repeated use.
Reduce leftover roller marks
Streaks of paint left by the roller edges are a typical problem for painters. These roller marks are tough to remove if left unchecked. To avoid this issue, dip only the nap in the tray. Too much paint can seep from inside the roller, leaving unwanted streaks on the wall. In addition, maintain a gentle pressure while smoothing out the paint. Just let your roller do the work of covering the surface with paint.
Spread the paint out quickly
Leaving the rolled paint on the wall for too long can result in an inconsistent finish. Quickly spread out the paint to ensure an even finish every time. Start by covering about 1 to 1.5m of the wall with paint before smoothing it on the rest of the surface. Once you settle on a quicker pace, you can paint over larger areas of the wall more evenly.
Plan your painting session
Time is of the essence when it comes to mastering how to paint using a roller. Painting a wall in an uninterrupted session is ideal because it minimises the chances of paint drying. Lap marks can form if the paint is left to dry even for a while.
It’s best to keep the paint edges wet throughout the painting process. Wet edges blend easier, allowing for a smooth and seamless paint job at the end of the day.
Use a wet rag to pick off paint lumps
Lumps of paint can eventually pop up on your walls as you use your roller. This can be due to debris being caught in the paint roller throughout the process. To remedy this, use a wet rag to pick off any paint lumps on the wall as you roll. In addition, one pro paint hack you can do is to sift out lumps in the paint with a strainer beforehand.
Paint with a roller like a pro
Using a paint roller when painting your walls can make transforming your home a breeze. By following the steps and tips above, you can ensure a smooth and stunning finish on your walls every time.
To get the best results on your home makeover, and if you’re not confident yet with your painting skills, seek the help of professional painters. These specialists have more expertise and can save you time and quote you on painting costs properly to ensure a clean and satisfactory paint job.
FAQs on painting walls using a roller
How do you paint without leaving roller marks?
Use an adequate amount of paint to avoid leaving roller marks while painting. Overloaded paint rollers are difficult to control and often leave tacky roller marks. Ensure that only the nap absorbs paint while you dip it in the tray.
How do you paint walls for beginners?
Begin by preparing the painting area. Clear any furniture out of the room and protect the skirting with painter’s tape. Next, use a paintbrush to outline the edges of the walls. Paint the rest of the wall with a paint roller in a “W” motion to smoothen any roller marks.
Let the first coat dry, then apply a second coat to even out the paint. Lastly, scrape off any leftover paint on your roller, then rinse thoroughly.
Is it better to touch up wall paint with a roller or brush?
The best tool for touching up wall paint depends on the size of the area. A brush is generally a good choice for small and precise touch-ups, such as scuff marks or nail holes. However, if you need to touch up large areas, a paint roller is the most efficient tool for the job. Using a roller makes blending new paint with the existing colours on the surface easier.
How much will your job cost?
The Oneflare Cost Guide Centre is your one-stop shop to help you set your budget; from smaller tasks to larger projects.