Find a local painter
- Inspiration /
- Lifestyle /
- Cleaning /
- How to clean...
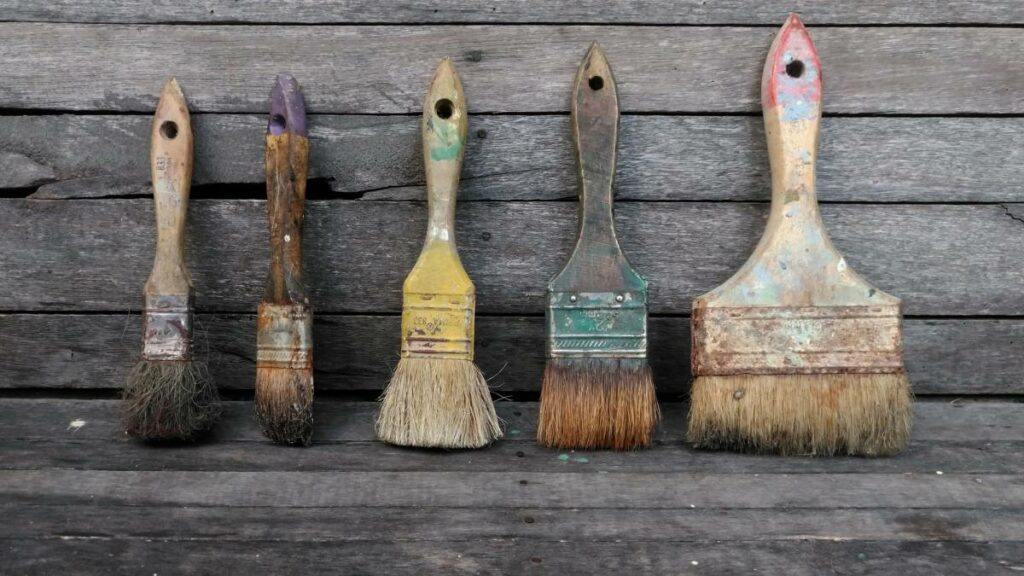
How to clean paintbrushes and paint rollers
Effortless methods for restoring paintbrushes and rollers to pristine condition.
Clean brushes and rollers enhance your work and make painting more enjoyable. With them, you can achieve a flawless finish, extend their lifespan, and avoid paint buildup. Yet, to paint like a pro, mastering the art of cleaning these tools is essential.
Whether you’re a DIY enthusiast or a budget-savvy homeowner, knowing how to clean paintbrushes and paint rollers is useful to help you master these skills and take your painting project to the next level.
Gearing up for the scrub
Let’s make sure you’re equipped to get those brushes and rollers sparkling clean in no time. From choosing the appropriate cleaning solvent based on your paint type to gathering items, we provide you with a list of essential tools and supplies you’ll need to clean these paint tools.
For water-based paint
You can ensure efficiency and safety when cleaning up after a painting project with water-based paint by preparing the following materials:
- Bucket
- Paint respirator
- Safety glasses and gloves
- Warm water
- Soap
- A bit of turpentine
For oil-based paint
When removing oil-based paint, you’ll need a similar set of materials as for water-based paint, with a few additions:
- Wire brush
- Some paper towels
- A paintbrush and roller storage container
For acrylic paint
While many of the materials overlap with the first two paint types, there are a few additional items specifically tailored for acrylic paint removal. Here’s what you’ll need:
- Brush conditioner
- Isopropyl alcohol
- Sanitising gel
- Garden hose
Methods for cleaning paintbrushes and paint rollers
Cleaning paintbrushes and rollers can be tricky, but this guide has got you covered! It highlights common problems and offers easy solutions, including how to clean a paint roller after use. Whether you’re dealing with dried paint or stubborn stains, you’ll find these tips useful to keep your tools in great shape for your next project.
Problem 1: Dried-on paint
Dried-on paint can make brushes stiff and difficult to use, making it hard to control the brush, potentially ruining your painting tools and project if not handled properly. Fortunately, there are ways to save your brushes and rollers with dried-on paint.
Solution 1: Soak with warm water
Soaking the brush or roller in warm water effectively loosens paint residue and makes cleaning easier. For water-based paint, soaking the brushes for about two hours is sufficient to soften the paint. After soaking, dry the brush or roller with a clean cloth and store it in a dry place for future use. This process helps to ensure that your painting tools remain in good condition and ready for your next project.
Solution 2: Use the right solvent for oil-based paints
Choose the right solvent from your local hardware store when using solvent-based paints, like mineral spirits or paint thinner. Pour a bit into a jar, soak the brush for about two hours, then dry it with a cloth and store it.
For acrylic paint, use acetone or alcohol in a jar to soak the brush for a few minutes. Remember to handle solvents carefully in a well-ventilated area.
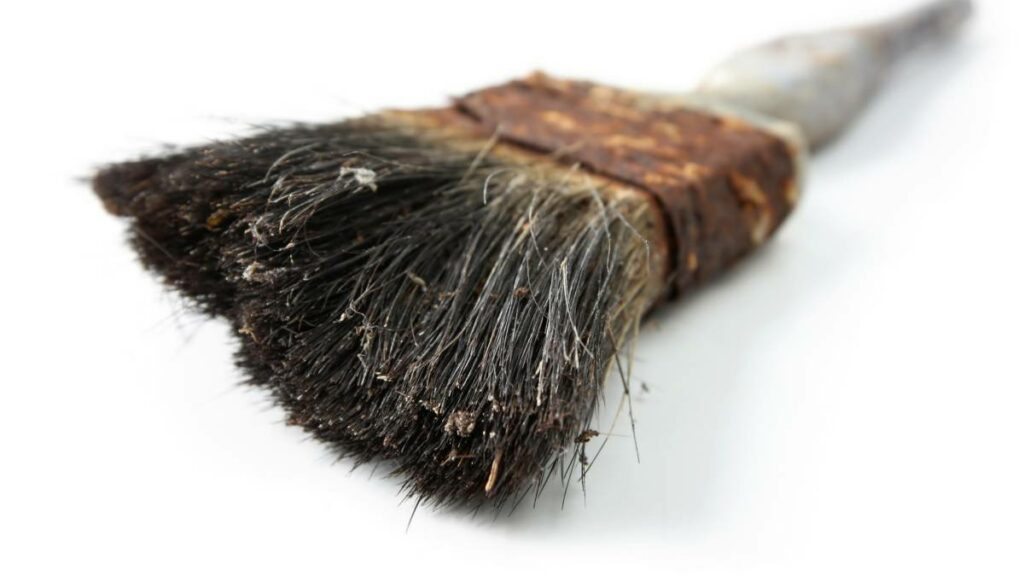
Problem 2: Damaged bristles
Damaged bristles can seriously affect paint application, causing issues when applying paint on any surface, such as interior and exterior walls. This is especially problematic with water-soluble paint, as it can be difficult to remove once it dries and sets in. Below are some methods to address damaged bristles and resolve any exterior and interior painting problems.
Solution 1: Place the brush in the boiling water
You can use boiling water to help the bristles lay flat and prevent fraying by rotating the brush for about five minutes. The heat and water should help the bristles come back together and preserve the brush’s shape and functionality for future use. To create a clean edge, you can carefully trim any frayed or split ends with scissors.
Solution 2: Comb it out
Use a wide-tooth comb to gently remove loose bristles and debris after soaking. Be gentle to avoid damaging the bristles, especially if they’re brittle from hardening. Consider using a diluted hair conditioner to soften natural bristles and prevent future damage.
Another option is fabric softener, which can effectively break down hardened paint residue and restore suppleness. Dilute fabric softener with water, soak the stiff bristles in the solution and enjoy revitalised brushes, which are especially suitable for synthetic bristle brushes.
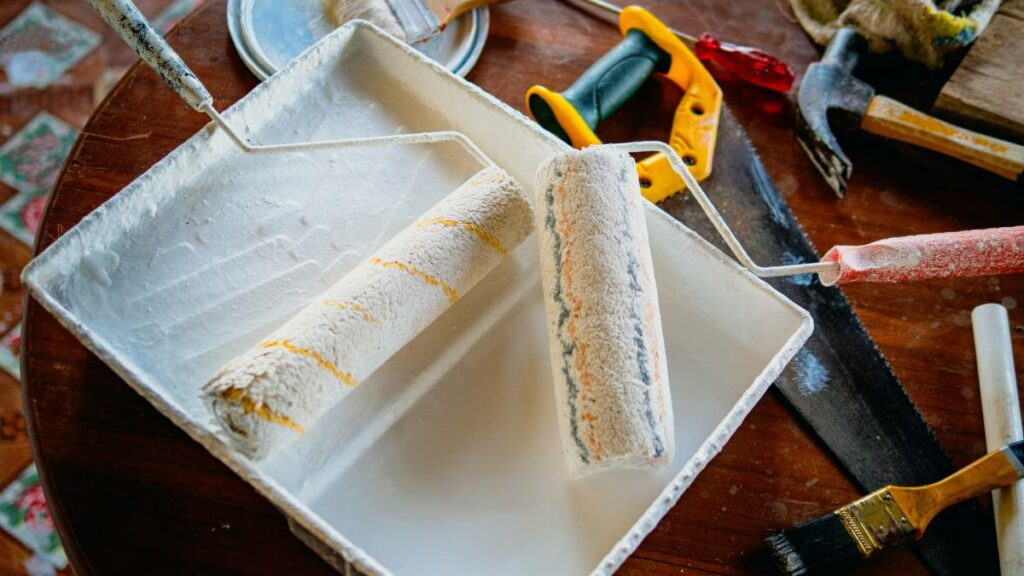
Problem 3: Matting and shedding of paint roller nap
Matting flattens roller nap fibres and causes uneven paint application, while shedding causes fibres to break off and adhere to the painted surfaces, resulting in blemishes. These problems hinder achieving a smooth, professional finish, which can be frustrating and more time-consuming. To address these woes effectively, here are some proactive measures to prevent matting and shedding.
Solution 1: Use warm water when cleaning paint rollers
It’s great to clean paint rollers using warm water, but you need to do it right for the best results. Here’s how to wash your roller efficiently with warm water.
- Rinse the roller with cold water to remove as much remaining paint as possible.
- Switch to warm water with a small amount of dish soap to gently wash away loose paint and debris.
- Avoid using hot water too soon, as it can cause certain paints to quickly congeal within the sleeve and make cleaning more challenging.
Solution 2: Tease out the matted fibres
If you’re wondering how to clean dried paint rollers, this method effectively revives them. Follow these steps to loosen the hardened paint effectively and restore your roller to its original condition:
- Soften up that dried paint by soaking the roller in a solvent like paint thinner or rubbing alcohol.
- Once it’s loosened up, grab a stiff card or comb and gently tease out those matted fibres, being careful not to damage the nap.
- Give your roller a good scrub with a brush or comb until the paint starts to loose.
- Rinse it off thoroughly with water to complete the process.
Problem 4: Lingering paint odour
Even after a thorough cleaning, paintbrushes may retain a lingering paint odour, which can be unpleasant. This odour not only affects the brushes but can also transfer to subsequent painting projects, potentially altering the colours and affecting the overall outcome. Follow the tips below to ensure your brushes are odour-free and ready for future use.
Solution 1: Soak your brushes in diluted vinegar
Vinegar helps neutralise odours. Mix one part vinegar with two parts water, then soak your brushes in it for a few hours or overnight. Rinse them well with water afterwards and let them air dry.
Solution 2: Slather a baking soda paste between your brush bristles
Baking soda is another ingredient that works wonders at eliminating unwanted smells. Create a paste with baking soda and water, then apply it to the brush bristles. Leave it for a few hours, rinse it off, and let your brushes dry.
Problem 5: Buildup of cleaning solution or soap residue on the tool
You may leave cleaning solution residue on your paint tools if you don’t rinse them properly while cleaning. This mishap can potentially damage them and lead to poor paint application.
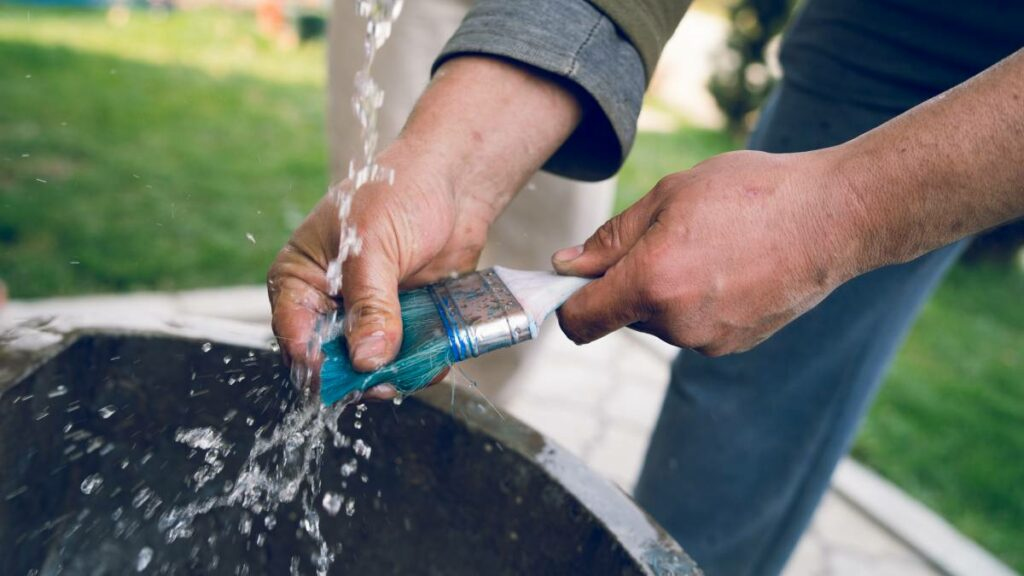
Solution 1: Rinse and comb your brushes thoroughly
After painting, follow these steps to thoroughly clean your brushes and remove any paint residue:
- Give your brushes a good rinse and comb them out nicely.
- Stir the solvent with the brush, wipe and squeeze the bristles.
- Use your fingers and a brush comb to remove excess paint.
- Soak if needed, then clean with warm, soapy water.
- Rinse brushes or rollers under running water until all soap is gone.
- Use a brush comb or wire brush to get rid of stubborn paint.
Solution 2: Dry your properly before storing.
Once you’re done rinsing, dry your brushes thoroughly to avoid residue buildup. A brush and roller spinner is perfect for the job, using centrifugal force to quickly dry your tools. Just attach your brush, give it a few pumps, and watch it spin away excess water.
More helpful tips
Good materials won’t fix poor technique. If you’re not a pro painter, chances are you lack training and tools. Here’s a brief painting checklist that can help you prevent common issues when redecorating your bedroom.
Always wet your roller with water before painting
Using a dry paint roller is a big no-no. Before diving into painting, ensure your roller cover gets wet with water. This helps it soak up paint better. But don’t go overboard—a slight dampness is perfect. If you accidentally make it too wet, dab off the extra moisture with a paper towel and give the roller a good shake.
Store your brushes and rollers correctly
Proper storage is key to keeping your brushes and rollers in good shape for your next project. Store paintbrushes with their original or protective cover, and keep paint rollers in a plastic bag. Alternatively, wrap the head of brushes and rollers in cling film or an airtight bag, sealing around the handle with masking tape. Store them in a dry spot for up to two days. After painting, remember to clean your brushes and rollers thoroughly.
Don’t forget to store your painting tools during breaks
Ensure your painting tools stay in top condition as you take breaks between coats. Don’t let them dry out while you wait for the paint to dry on your walls. Wrap them in plastic wrap or a bag and pop them in the fridge if you’re using them again tomorrow. This method will save you from washing them and keep them ready for your next painting session.
To learn more about properly painting walls with rollers, brushes, and other tools, consider asking professionals or conducting research.
Revive your tools and enhance your painting experience
Cleaning your paintbrushes and rollers properly can help you achieve top-notch painting results. Remember, even well-used tools can be restored with the right care. If you don’t have enough time to paint or seek a hassle-free painting experience, consider hiring professional painters for your home painting projects.
FAQs on paintbrush and paint roller cleaning
Is it okay to wash and reuse paint rollers?
Yes, it’s okay to wash and reuse paint rollers. It’s a smart move to save money and reduce waste. Just ensure they’re cleaned properly and dried thoroughly before using them again.
What is the best thing to clean paintbrushes with?
The best cleaning method for paintbrushes depends on the type of paint you’re using. Turpentine is essential for cleaning oil-based paint. However, if you’re working with water-based paint, hot water and a touch of dish soap should do the trick.
How do you store a lot of paintbrushes?
Storing a lot of paintbrushes is easy. You can keep them in their original packaging or store them upright in jars. Ensure the bristles are facing up and the handles are downwards to prevent damage.
Related posts
How much will your job cost?
The Oneflare Cost Guide Centre is your one-stop shop to help you set your budget; from smaller tasks to larger projects.