Find a local painter
- Inspiration /
- Indoor projects /
- Design & decor /
- Solutions to common...
Solutions to common interior painting problems
Know how to avoid common interior painting problems like peeling and blistering with this guide.
Embarking on a DIY interior paint project opens the door to infinite possibilities, but mishaps and interior paint problems may arise throughout the process. What was originally a simple revamp to your space can be a headache if you’re not properly prepared for the task.
But don’t worry! This guide will help you navigate various interior paint problems and the different solutions you can take to avoid them altogether.
8 Common interior painting problems and how to avoid them
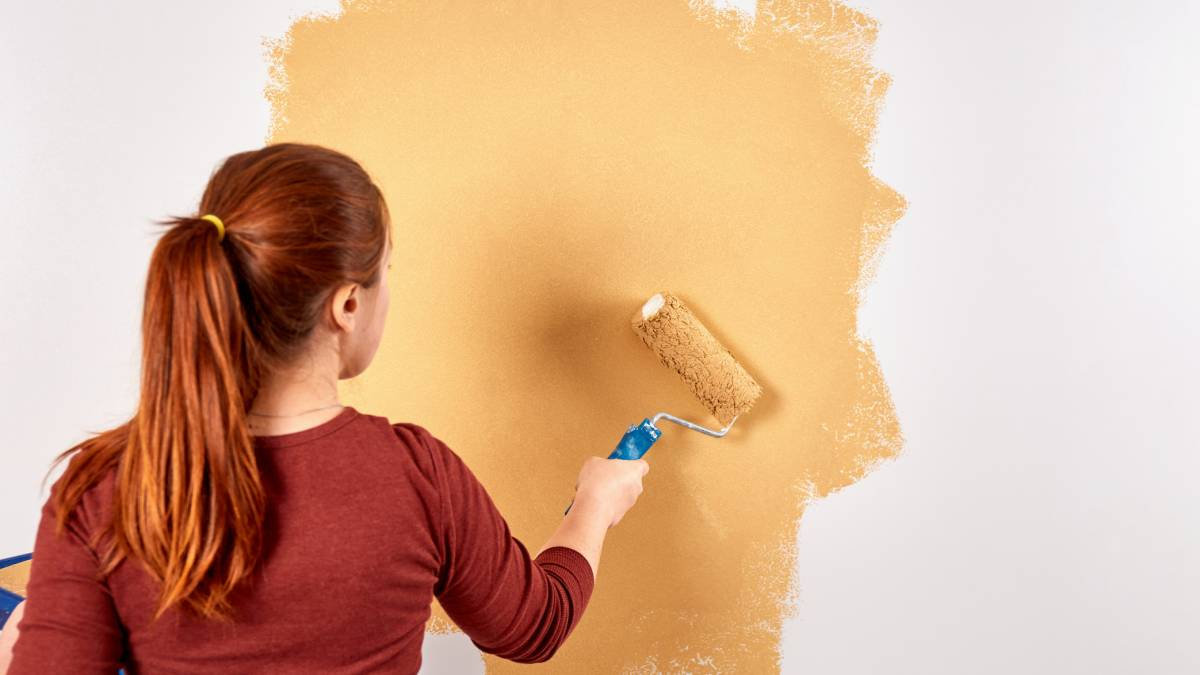
Problem 1: Uneven paint coverage
Regardless of the colour palettes you choose, uneven coverage occurs when the surface isn’t prepared properly or when strokes and colours are inconsistent during application.
The solution:
Before you even think about painting a wall, take the time to prime your walls, doors, and other surfaces. Primer acts as a foundation, creating a smooth base for the paint to adhere to and ensuring uniform coverage.
Once primed, focus on maintaining consistent strokes while painting. You can’t rush good results, so patiently cover the surface with even coats. This not only guarantees a more aesthetically pleasing result but also minimises the chances of having to deal with patchy walls.
Problem 2: Peeling or flaking
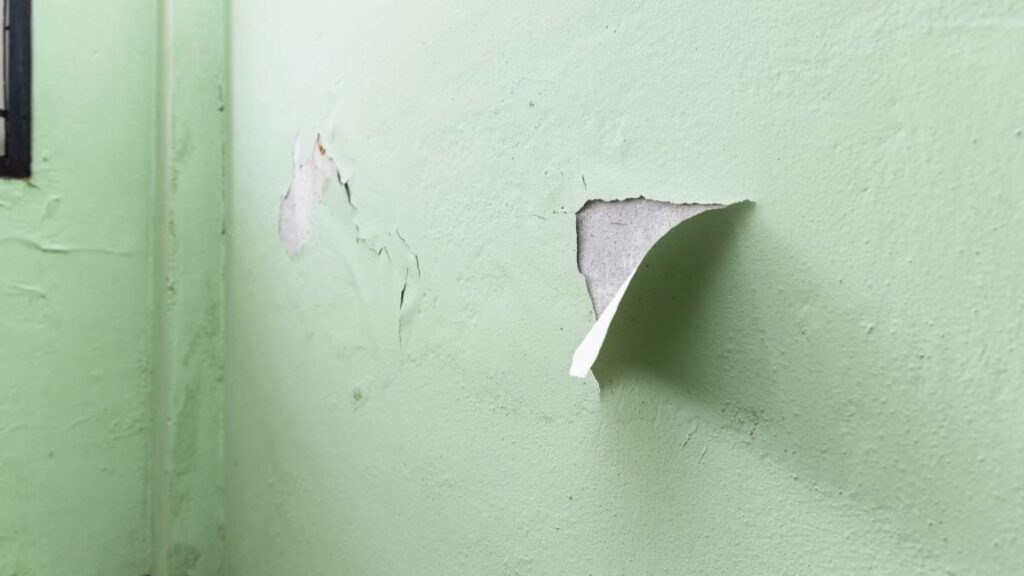
Peeling paint is like a bad breakup between your walls and the paint. It happens when they don’t get along. Common culprits for paint peeling or flaking include a damp or wet surface, insufficient surface prep, temperature fluctuations, and low-quality paints.
The solution:
To ensure you don’t encounter these interior wall paint problems, always prep your surfaces by cleaning them and getting rid of dirt before putting on the first coats of paint. This makes sure the paint sticks better to the surface.
For addressing paint flaking incidents, don’t skimp on high-quality paint since cheap ones will crack over time. Additionally, invest in using suitable prepcoats and topcoats for longer-lasting results.
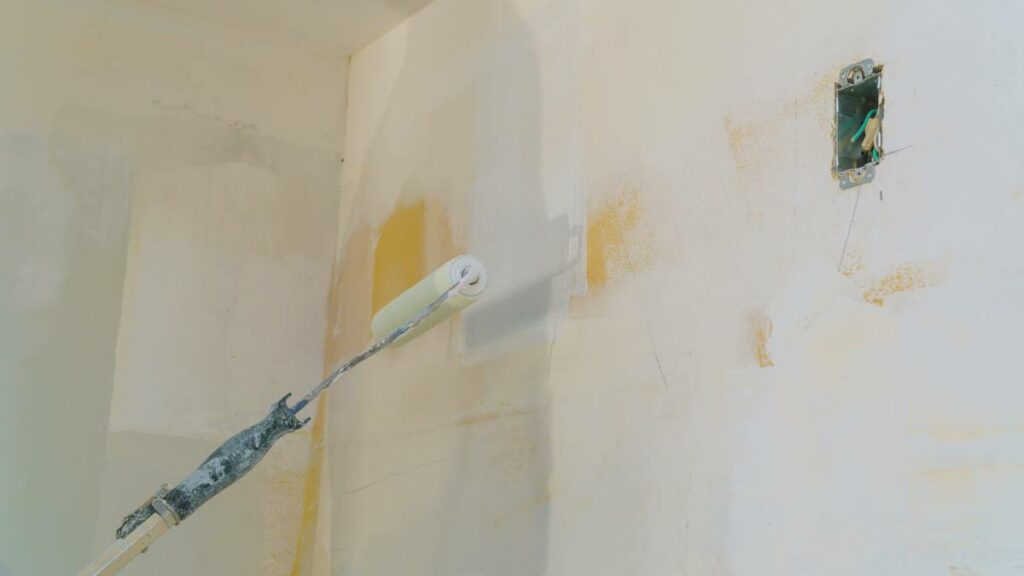
Problem 3: Bleeding
In the context of painting, bleeding is where old colours or patterns on a wall become visible or bleed through the fresh coat of paint applied. It’s more likely to occur when applying a new, darker colour over a lighter one, and the previous hue becomes noticeable.
The solution:
To prevent bleeding, using at least one coat of tinted primer can provide a neutral base that helps hide the old colour. This ensures a smoother and more consistent finish with the new paint.
Problem 4: Paint bubbles and blistering
Paint bubbles and blisters are often caused by painting in less-than-ideal conditions or temperatures, such as when it’s too hot, or you’re painting an area directly hit by the sun. This can turn your paint job into an absolute nightmare if left unaddressed.
The solution:
An easy solution to this can be to paint at a cooler time of the day to prevent any blistered paint from popping up.
Also, make sure your surface is completely dry with no signs of any moisture. If your walls are hiding moisture, the water trapped beneath the surface will make it difficult for the fresh coat of paint to adhere to the surface and cause it to bubble and blister.
Problem 5: Discolouration and fading
Walls that become more discoloured when they experience prolonged exposure to the sun. This can cause pigments in the paint to break down and lose their original vibrancy.
Fading, meanwhile, is the result of low colour retention, which might be due to low-quality, non-fade-resistant paints. These paints lack the durability to withstand UV exposure and extreme weather conditions, and as time passes, they become victim to general wear and tear.
The solution:
To combat these interior paint problems, you can start by choosing good quality paint brands, preferably ones with UV-resistant properties designed to resist fading. This can ultimately help delay any instances of fading or discolouration.
Problem 6: Brush or roller marks
If you’re working on a painted surface, you might notice brush or roller marks in some areas. These are the unintentional textured patterns left behind due to uneven application or inconsistent brush strokes, which can be a common problem for those who do the painting themselves. When struggling with this issue, you’re also potentially left with uneven coating on your external surfaces.
The solution:
Invest in a high-quality wire brush or roller suitable for the type of paint and surface you’re working on. If you’re using thick paint, consider thinning it slightly. Thinned paint tends to level more evenly, reducing the chances of visible brush or roller marks.
Problem 7: Blocking
Blocking happens when freshly painted surfaces stick together and is normally caused by not letting the paint fully dry between coats.
The solution:
As a good rule of thumb, don’t rush through the painting process. Allow each coat of paint to dry completely to avoid blocking issues. By giving the area enough time to dry off, you can enjoy smooth and separated layers.
Problem 8: Paint splatters
You get paint splatters when tiny droplets of paint are unintentionally propelled onto surfaces beyond the targeted area. Several factors contribute to this common painting mishap, like brush and roller techniques used, painting too fast, or having too much paint on the brush or roller.
The solution:
Paint splatters can easily be minimised by using simple tips and tricks throughout the process, such as when painting a door. This includes having better control over your brush techniques, maintaining stroke consistency, avoiding overloading your tools, and not rushing the application process. It’s also advisable to protect adjacent surfaces with cloths, newspaper, or painter’s tape for added measure.
Additionally, paint splatters can easily be avoided if you hire qualified painters to do your interiors for you. Plus, you get to know how much paint jobs cost. Seasoned painters bring not just skill but a mastery of techniques that minimise the risk of mishaps.
Say goodbye to your painting problems!
When painting interiors, it’s easy for things to get messy. If you’re able to spot the different problems with painting interior walls and the steps you can take to minimise them, then giving your home a colour makeover should be a breeze! If you think you need professional help, you can always book professional painters.
FAQs on interior painting problems
What does a bad paint job look like?
A bad paint job is when your interiors look less than ideal than they should. This can mean having uneven coverage, patchy colouring across the surfaces, drips, runs, peeling or flaking of paint, etc.
How can you tell if wall paint is bad?
Peeling or flaking can indicate the paint has poor adhesion. Discolouration or mould can mean the paint has poor moisture resistance. Uneven coverage or a patchy appearance suggests problems with the paint application, possibly due to improper mixing or thinning.
Why do my walls look bad after painting?
Your walls could look bad after a paint job if they haven’t received proper preparation, like cleaning, sanding, or priming. This can lead to poor adhesion of the paint and an uneven or lacklustre finish.
Likewise, there are other external factors too to why your walls might look bad after being painted. These include having low-quality paint, inadequate mixing, incorrect application techniques, or moisture issues.
How much will your job cost?
The Oneflare Cost Guide Centre is your one-stop shop to help you set your budget; from smaller tasks to larger projects.